 Bank payments
 Card payments
 Apple Pay / Google Pay
 POS terminals
 Buy Now, Pay Later
 Shipping+ and Shipping+ Pro
 Refunds
 Recurring payments
 Payment link
 Donations
 Kniks gift card
 Merchant financing
 Payments for accommodation businesses
 Payments for service businesses
New Shopify payment modules setup
The new MakeCommerce Shopify apps let you accept bank and card payments directly in Shopify Checkout. Unlike the previous setup, each payment method is now installed as a separate Shopify app.

1. Before You Start
Before installation, make sure that:
- You have an active MakeCommerce account
- Your Shopify store is active
- Your store currency in Shopify settings is set to EUR
- Your store location in Shopify settings is in Europe
Not a MakeCommerce client yet? Contact us or submit an application form.
2. Set Up Payments in Shopify
2.1. Choose the MakeCommerce payment apps you need
Because of Shopify checkout logic, each payment method must be installed as its own app. If you want to offer multiple methods, install each app separately.
| Payment method | Install in your Shopify store |
|---|---|
| Install → | |
| Install → | |
| Install → | |
| Install → | |
| Install → | |
| Install → | |
| Install → | |
| Install → | |
| Install → | |
| Install → | |
|
Soon
|
|
|
Soon
|
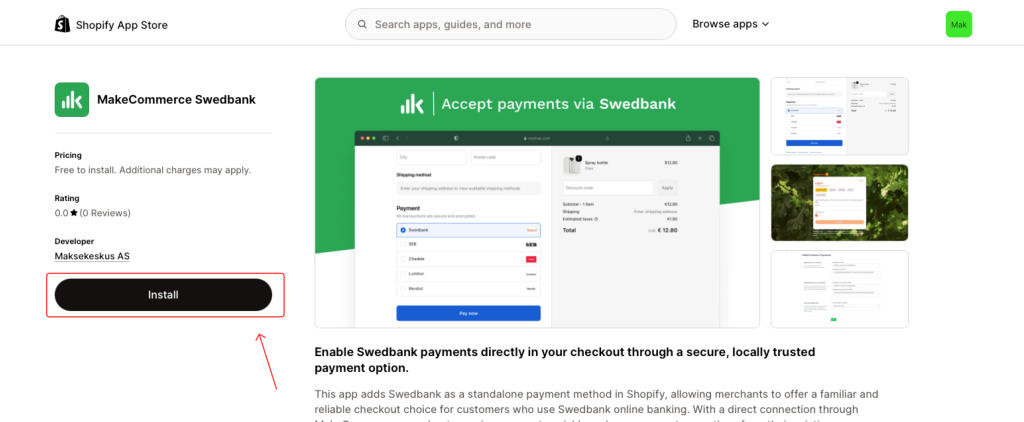
2.2. Install the app
-
Click Install in the Shopify App Store
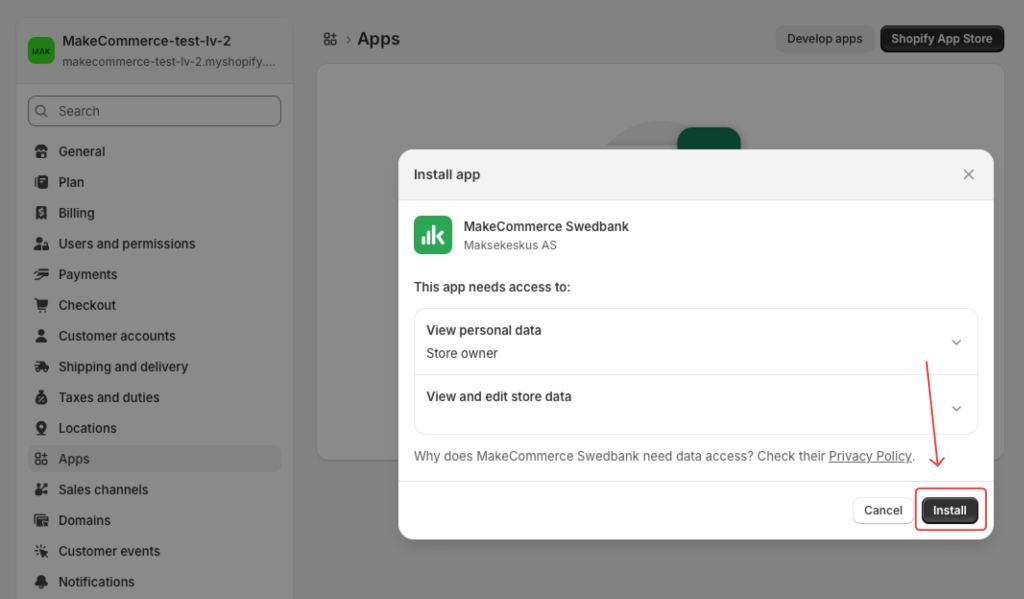
-
Confirm installation by clicking Install again.
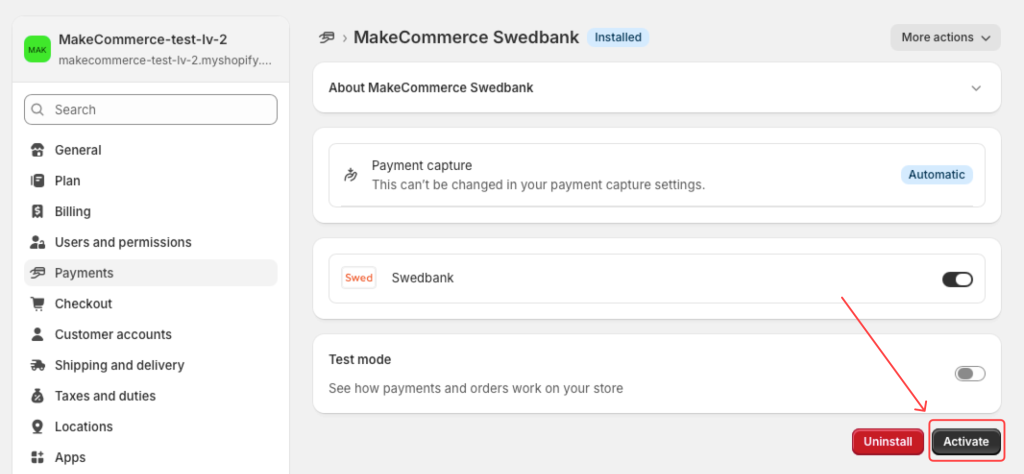
- Click Activate
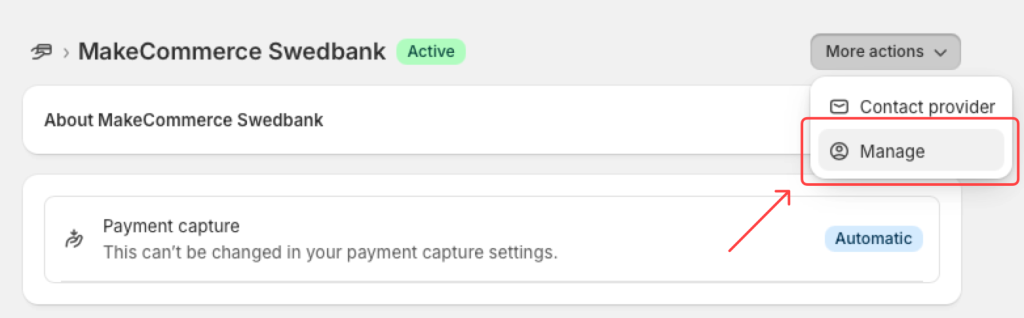
- After successful activation, click More actions -> Manage
- On this page, add the API keys that connect your store app to the payment system. Test keys are already filled in by default. Replace them with your LIVE keys.
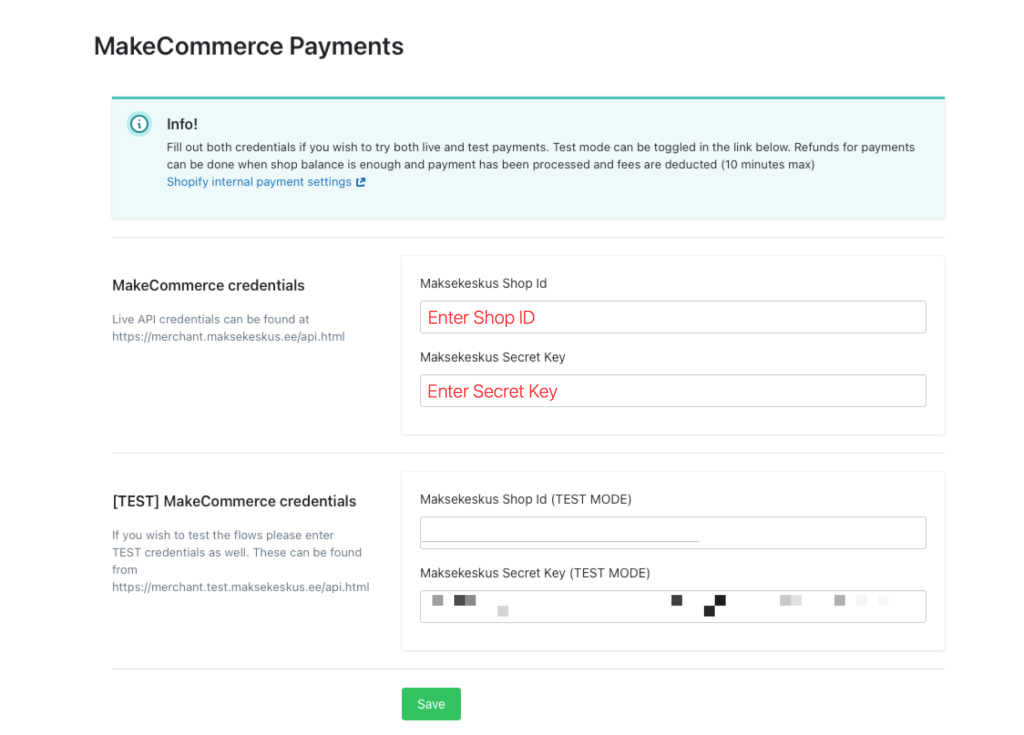
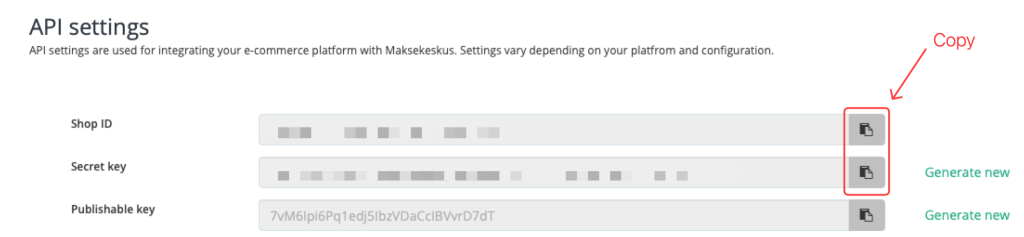
To get your LIVE production API keys, you must be our client and retrieve them from the merchant portal under Settings -> API: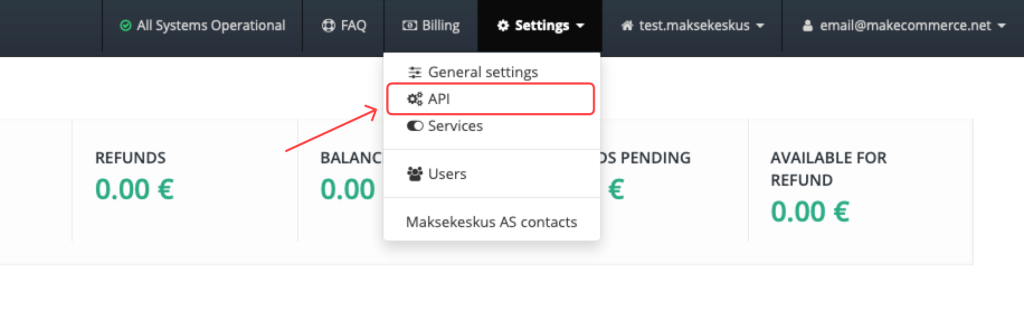
- After entering the API keys, click Save

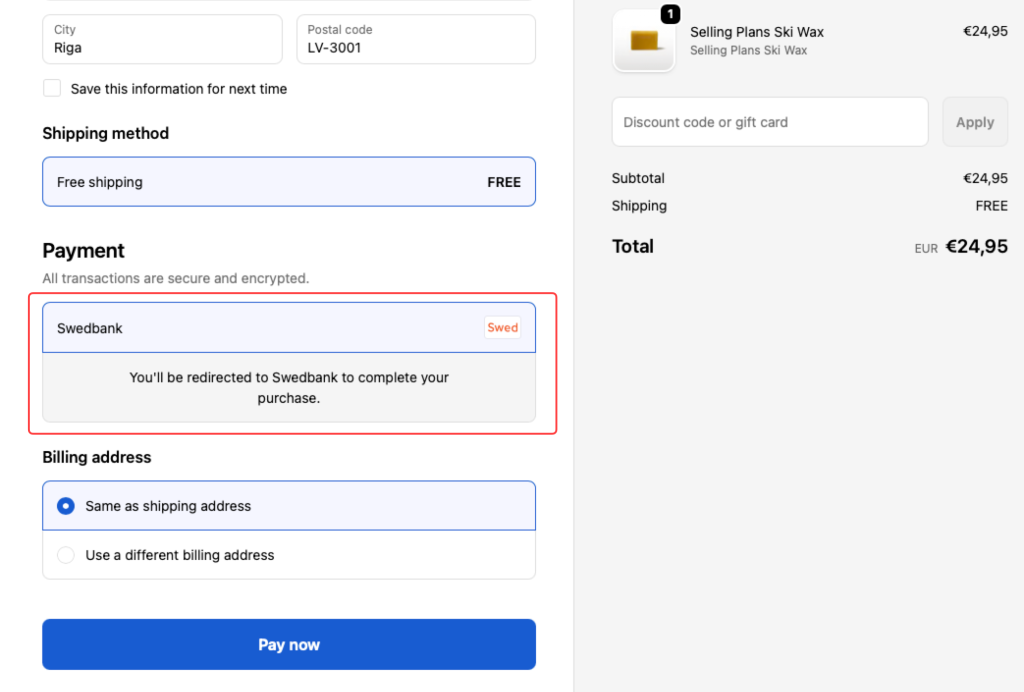
- Setup is complete. Open your store checkout to confirm the payment method is visible. In LIVE mode, if the customer is redirected to their bank page, the integration is working correctly.
Repeat this flow for each payment method you want to activate.
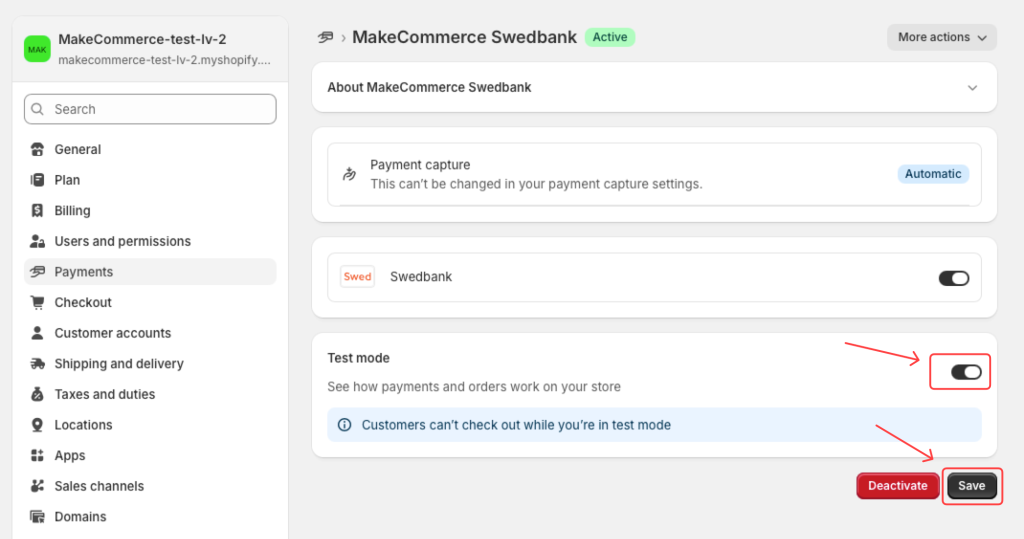
Payment testing
If you want to test payments, open the payment method settings and enable Test mode, then click Save:


Want to add delivery options to your store as well?
Take a look at the MakeCommerce Shopify delivery module tutorial, where we walk through app installation, delivery method setup, shipment management, and carrier settings step by step.
Add MakeCommerce to your Shopify store
If you’re not our merchant yet, share your contact details and we’ll assist you with onboarding and help you complete the Shopify payment integration.